.JPG)
Wednesday, February 26, 2014
Monday, February 24, 2014
Silly Ladybug

One day I got up, got ready
for my day. After I was all ready for my day and had fed our two dogs and cat,
I got the ladybug out to feed. To my surprise the ladybug was gone. I was panicking
for the ladybug, she/he was out in the house with no food it could probably
find water but it had absolutely no food! I was looking all over. I could not
find it. I just hoped it had gotten out the way it came in. then I found it! It
was gone for about a half a day. I put it back in the habitat. It seemed happy
to be in the habitat again.
I will update again soon!
Wednesday, February 19, 2014
Ruffle pellow

Today I will instruct you on how
to make beautiful ruffle pillow. The best thing is you can reuse old T-shirts.
This pillow will go lovely on your bed or couch.
Now I will give you a step-by-step
tutorial. I will start by giving you all the materials that are needed.
Materials
·
Scissors
·
A rolling cutter (if you have it)
·
A cutting mat
·
A measuring square
·
One or two fabrics of your choice
·
Old T-shirts
·
Straight pins

Step Two: Pick
1-3 T-shirts that go with the fabric or fabrics you picked.

Step Thee: Now
get your cutting mat, your rolling cutter (if you don’t have one scissors work
fine) and your measuring square. Use
your measuring square and cut your
fabric the size you want your pillow (I made mine 10 inches) (make sure to cut
on the cutting mat so you do not cut anything you don’t want to) you want two
piece one for the front and one for the back, so if you have two fabrics cut
one piece out of each fabric. If you only have one fabric you can fold the piece
in half and cut.

Step Four: Cut
two or three strips of T-shirt, from the bottom of the shirt.
Step Five: Now cut the T-shirt strips in a wavy design,
then stretch them, this will give them a wave and also by stretching them they
will curl a little. Then you will want to pin the T-shirt strips on one or both
sides were you want them.

Step Six: With a
sewing machine, sew down the middle of the strips, and take the pins out as you
go.
Step Seven: (Optional
step) cut a circular strip of T-shirt off. Take the pillow and sew the T-shirt
around the pillow when you come to were you started overlap a little (about an
inch) and then cut the extra off. (If you have a large pillow you can make do
with two strips, and cutting them so they are flat and sewing them together to
make one long one)

Step Eight: Now
take the two sides of the pillow and carefully sew them together to make sure, not
to sew the ruffle in. (Make sure to turn the pillow inside out before you sew it
so you can turn it right side out and the stitching will be on the inside.)
Step Nine: Turn
it right side out. Poke the corners out. And stuff it.
Step Ten: Now sew
the opening closed (backstitch about a half a inch when you get to the end of
the opening, just to make it stronger.) (Don’t worry about the stitching
showing the ruffle will hide it, but if you want to you could stitch all the way
around the pillow.)

Monday, February 17, 2014
Friday, February 14, 2014

Monday, February 10, 2014

Setting up the Habitat

I rescued a ladybug, that had come
in our home. I caught the ladybug in my bug catcher, but it was way to cold to
release the ladybug.
I made a habitat for it. If you
find a ladybug, and want to make one here is the website I found the
instructions at http://www.wikihow.com/Take-Care-of-Your-Own-Ladybug
. I found a container and put all the suggested things that were on the
website, in it. You will need to feed it every day, or when the food runs out.
You will also need to change out anything that is wilted, like leaves or
lettuce (which is one of the suggested foods.) Once a week you will probably
have to take everything out and wash the container, because well…..the poop
will build up (yes I said it POOP!) for
all of you that didn’t know small creatures pooped (because there was a time in
my life that I thought that) they do poop. When you wash the container out have
a small jar or something to put the ladybug in. Always put a piece of fabric on
the top of the container with a rubber band around it (because there are tiny
holes in the fabric that the human eye can not see, but it lets enough air in
so the bug can breath, but it can’t get out)
The ladybug is doing very good. I
think he/she likes its new habitat. My brother has already named it ….Turbo.


Entry to, Ladybug Rescue
I rescued a ladybug, which was in our bathroom. I caught it
in a bug catcher, but it was way to cold for it to go outside. So I am going to
keep it in a container until it is warm enough for it to go outside. I will
update on how it is doing every other week or so. As soon as I start my
updates, the links to them will be on this page.
setting up habitat
silly ladybug
Ladybug Update
escape artiest
setting up habitat
silly ladybug
Ladybug Update
escape artiest
Thursday, February 6, 2014
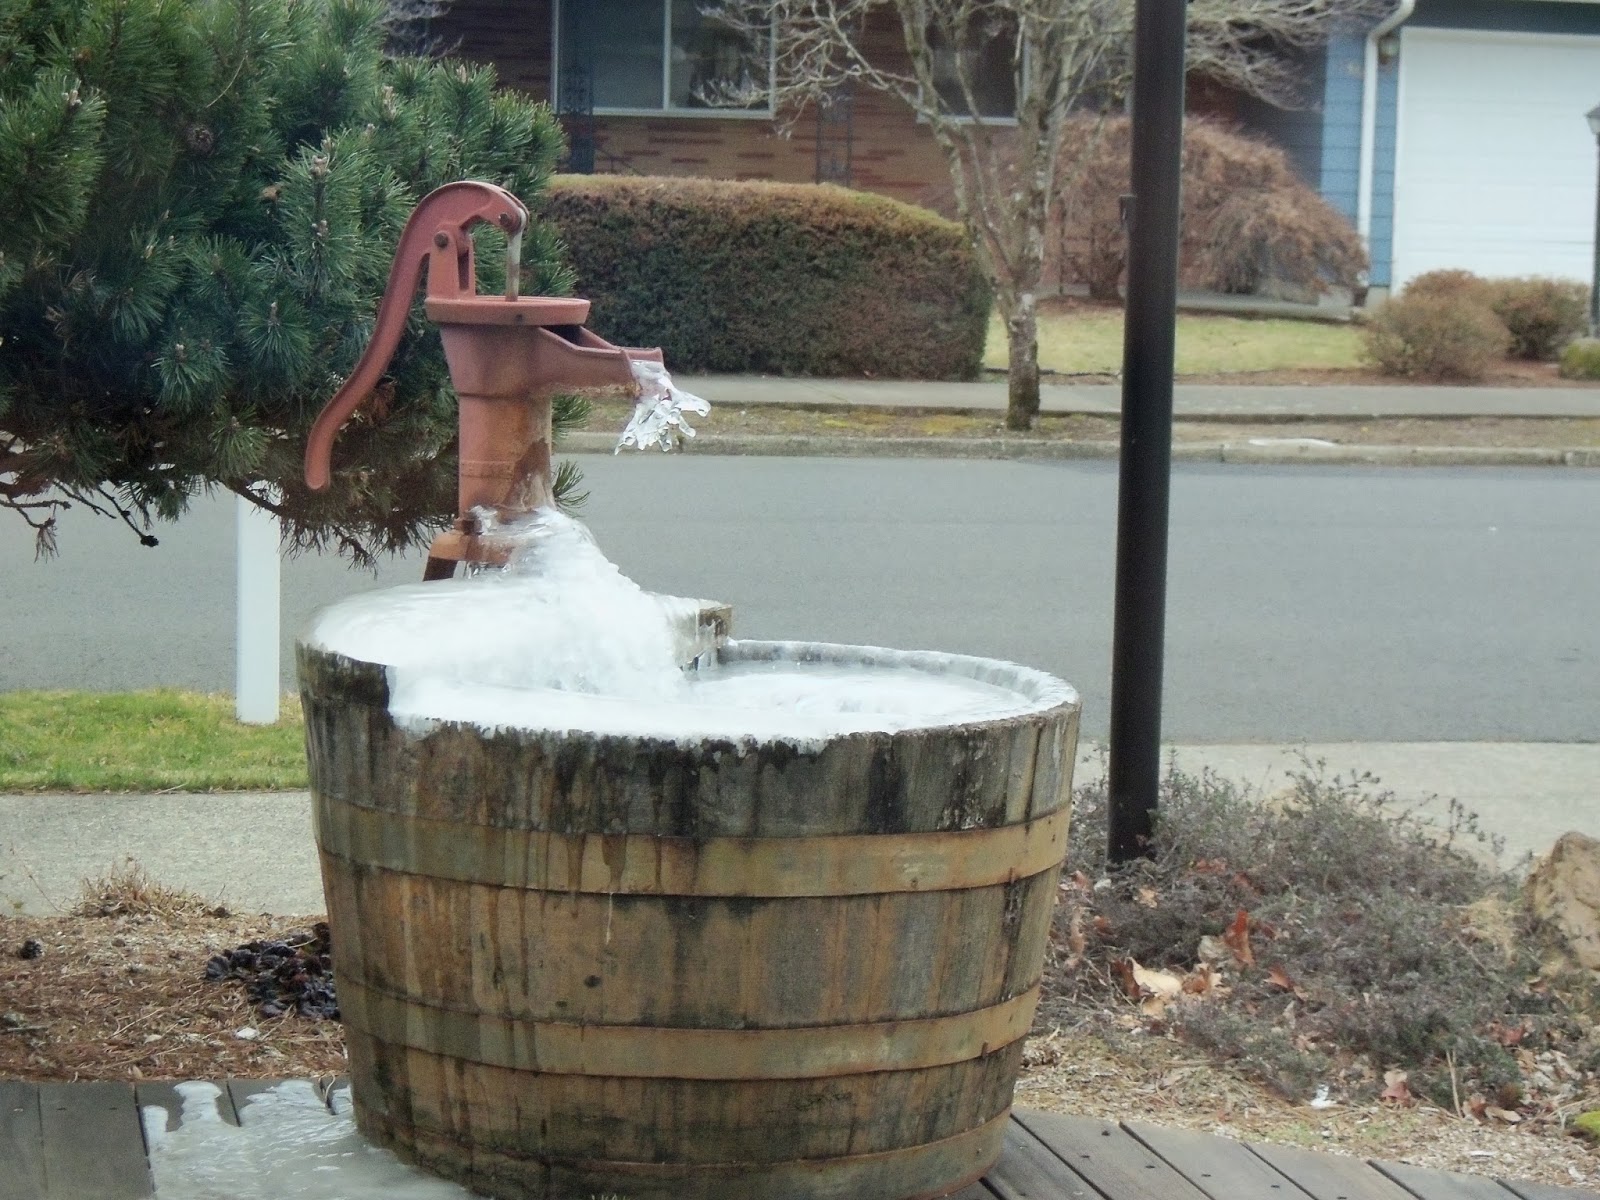
COLDDD!!!!!
It is bone chilling cold today! It is fluctuating between 21
and 22 degrees. I heard that it’s suppose to get up to 27 degrees today (still
very cold.) last night on the news I herd there was a wind chill of 3 degrees.
We have a fire, our dogs are laying in front of it. It keeps
snowing off and on. I like snow, I wish it would snow more.
It’s really windy too! My mom has a mini green house for her
plants, that sits on the ground, about 5 feet by 3 feet. It was so windy last
night that her green house blew over, fortunately there was no plants in it.


Wednesday, February 5, 2014
What's really Down There

Have you ever looked down at your feet? Today I am going to
talk about somewhere no-one ever thinks to look. On you base boards! Do you
ever dust down there? I never would have. It was not until my mom had it on
her to-do list. I was shocked at how much dirt and dust was down there. Behind the
doors, in the corners. I think you’ll be shocked at the amount of grime you
get.
Did you dust your base boards?
How much dust did you find?
Pleas feel free to express your thoughts in the comments.
Tuesday, February 4, 2014

Monday, February 3, 2014

Subscribe to:
Posts (Atom)